Wetsuits are essential for keeping us warm and agile in the water, but they’re not invincible. Over time, the seams can wear out or get damaged, jeopardizing the suit’s effectiveness. Whether you’re a seasoned surfer, diver, or swimmer, knowing how to repair these seams can extend the life of your wetsuit and save you from the hassle of buying a new one. In this guide, we’ll delve into the intricacies of wetsuit seam repair, exploring both DIY techniques and professional methods. Armed with the right tools and knowledge, you’ll be able to tackle those pesky leaks and tears, ensuring your wetsuit remains in top condition for your aquatic adventures.
Mastering Wetsuit Seam Repair
When it comes to maintaining your wetsuit, seam repair is a crucial skill every water enthusiast should master. Seams are the lifelines of your wetsuit, stitched together to provide a watertight seal and maintain insulation. Understanding the nuances of wetsuit seam repair can save you time and money while ensuring your wetsuit remains functional and effective.
Why Seam Repair Matters
Your wetsuit’s seams are more than just stitches; they’re the core of the suit’s integrity. If these seams fail, you risk losing buoyancy and warmth as well as getting wetsuit rashes. Water ingress can chill you to the bone and reduce your ability to perform efficiently in the water. Hence, addressing seam issues promptly is essential to avoid more extensive damage and maintain optimal performance.
Types of Seam Damage
Before diving into repair techniques, it’s vital to identify the types of seam damage you might encounter:
- Seam Delamination: This occurs when the adhesive between the neoprene layers breaks down, causing the layers to separate.
- Stitch Fraying: Over time, the stitching may start to fray or break, compromising the seam’s strength.
- Tears and Punctures: These are usually the result of sharp objects or excessive stress on the seam area.
Essential Repair Tools and Materials
To tackle seam repairs like a pro, you’ll need a few specialized tools and materials:
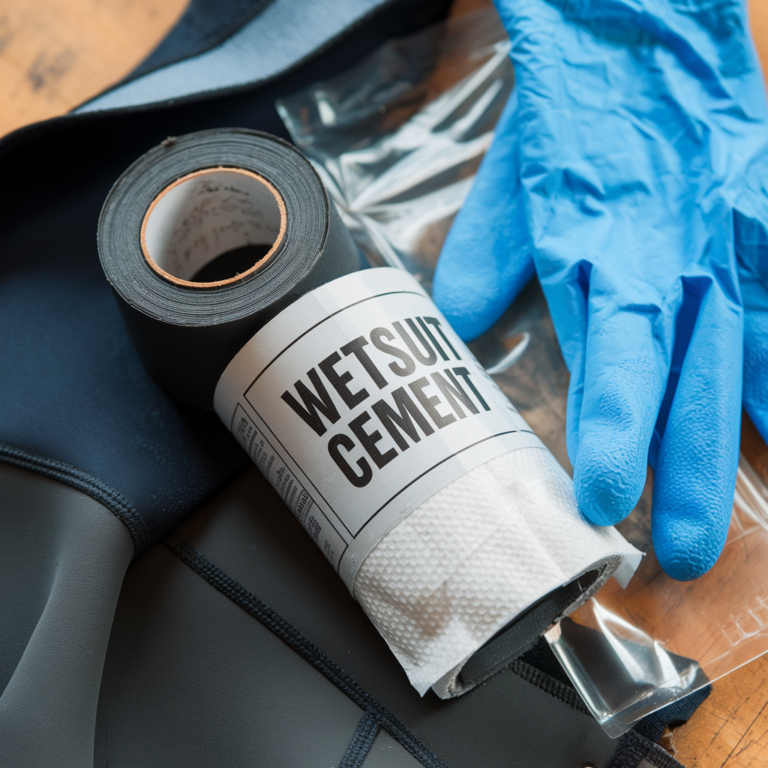
- Neoprene Cement: This adhesive is crucial for re-bonding delaminated seams.
- Seam Tape: Applied over stitched seams to provide additional waterproofing and strength.
- Patch Kits: Ideal for larger tears or punctures, these kits usually come with neoprene patches and adhesive.
- Squeegee or Roller: For smoothing out the cement and ensuring even application.
DIY Repair Techniques
- Clean and Prep: Allow it to dry completely before proceeding.
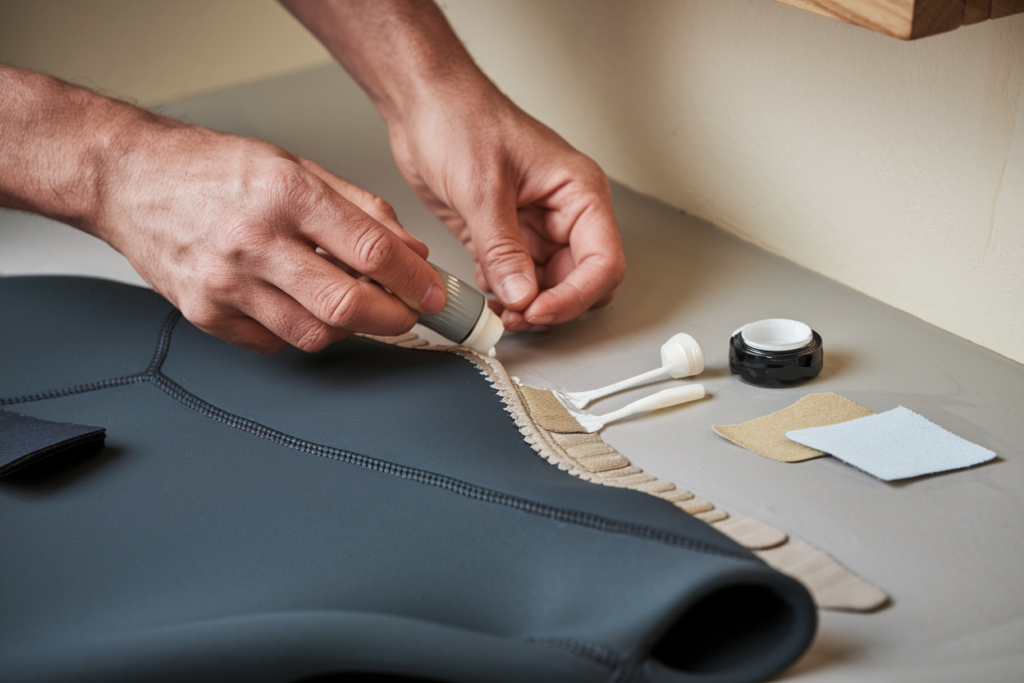
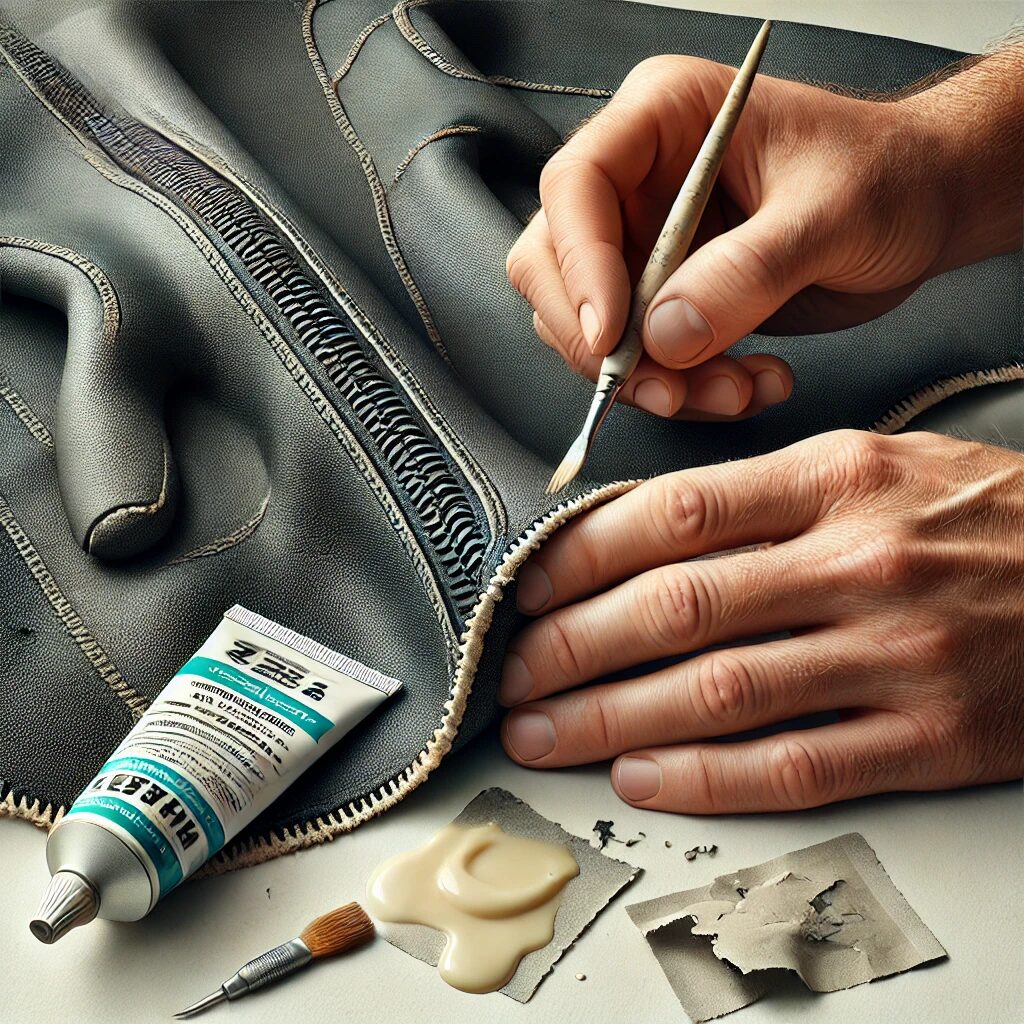
- Apply Neoprene Cement: For delaminated seams, gently apply a thin layer of neoprene cement to both sides of the seam. Let it set for a few minutes until tacky, then press the layers together.
- Reinforce with Tape: For added durability, apply seam tape over the repaired area. Smooth it out with a squeegee to eliminate air bubbles.
- Patch It Up: For tears, cut a neoprene patch slightly larger than the tear.
Professional Repair Options
If the damage is extensive or beyond your DIY comfort zone, seeking professional repair services might be the best route. Many dive shops and wetsuit manufacturers offer specialized repair services that can handle complex seam issues and ensure a flawless fix.

Where to Buy Wetsuit Repair Products
When it comes to repairing your wetsuit, having the right tools and materials is key. Luckily, there are various places where you can source these essential repair products. This section will guide you through the best options for purchasing wetsuit repair supplies, helping you make informed decisions based on price, availability, and product quality.
Top Retailers for Wetsuit Repair Products
- Specialty Dive and Surf Shops
Local dive and surf shops are often the best places to find high-quality wetsuit repair products. These stores cater specifically to water sports enthusiasts and usually stock a range of repair kits, neoprene adhesives, and seam tapes. Moreover, staff at these shops can offer valuable advice and recommendations based on your needs.
- Online Retailers
Online platforms provide a vast array of wetsuit repair products, often with user reviews to help you choose. Websites like Amazon, eBay, and specialized retailers like Wetsuit Wearhouse and Dive Right In Scuba offer competitive prices and convenient shipping options.
- Sporting Goods Stores
Major sporting goods chains such as REI or Dick’s Sporting Goods carry a selection of wetsuit repair materials. While their stock might be less specialized compared to dive shops, they often offer a range of basic repair supplies that can be quite effective.
- Manufacturer Websites
Some wetsuit manufacturers sell repair kits directly through their websites. This can be advantageous because you’re getting products specifically designed for your wetsuit brand. Brands like O’Neill, Rip Curl, and Patagonia often have their repair kits available for purchase, ensuring compatibility with their products.

Comparison Table: Wetsuit Repair Products
| Product Type | Brands | Average Price | Availability | Pros | Cons |
| Neoprene Cement | McNett, AquaSeal, O’Neill | $8 – $15 | Online, Specialty Shops | Strong adhesive, quick-drying | May require multiple applications |
| Seam Tape | McNett, Rip Curl, AquaSeal | $6 – $12 | Online, Specialty Shops | Provides extra waterproofing | Limited to smaller seam areas |
| Patch Kits | O’Neill, AquaSeal, Rip Curl | $12 – $25 | Online, Specialty Shops | Includes patches and adhesives | Can be expensive for multiple repairs |
| Squeegee/Roller | Generic, McNett | $5 – $10 | Online, Specialty Shops | Ensures even adhesive application | May not be included in all kits |
Tips fosr Buying Wetsuit Repair Products
- Check Compatibility: Ensure that the repair products are suitable for the type of wetsuit material you have. Neoprene cement and seam tape are generally versatile, but checking the manufacturer’s recommendations is wise.
- Read Reviews: Online reviews can provide insights into the effectiveness and ease of use of different products. Look for feedback from users who have repaired similar types of damage.
- Consider Bulk Purchases: If you frequently repair wetsuits or have multiple suits, buying in bulk or investing in a comprehensive repair kit can be cost-effective.
- Verify Return Policies: When purchasing online or from stores, ensure that the retailer offers a return policy in case the product doesn’t meet your expectations.
Advanced Repair Techniques and Tips
While basic wetsuit seam repairs can handle most issues, advanced techniques are essential for more complex or severe damage. These methods ensure that your wetsuit not only stays functional but also maintains its integrity and performance. Here’s a guide to advanced repair techniques and some pro tips to elevate your repair game.
Advanced Repair Techniques
- Seam Reinforcement: For seams that are prone to frequent stress or have been previously repaired, reinforcing them with additional seam tape or fabric can provide extra durability. Apply a layer of neoprene cement along the seam, press the tape or fabric into place, and let it cure fully before use.
- Fabric Patching: Large tears or holes in the neoprene require fabric patches. For added security, use a heated roller to smooth out the patch and ensure a strong bond.
- Sealant Application: For areas prone to leaks, such as around zippers or cuffs, applying a flexible sealant can be effective. Choose a sealant specifically designed for wetsuits or neoprene, and apply it to the vulnerable areas to create a waterproof barrier.
- Thermal Bonding: This method involves using heat to bond neoprene layers together. It’s particularly useful for delaminated seams. This technique provides a strong, flexible bond.
Pro Tips for Effective Repairs
- Proper Surface Preparation: Use a mild detergent and water to clean the area, then let it dry completely before applying any adhesive or patches.
- Follow Curing Times: Allow adequate curing time for all adhesives and sealants. Follow the manufacturer’s instructions for drying and curing times.
- Test the Repair: Before taking your wetsuit back into the water, test the repair by applying some pressure to the area and checking for any signs of leakage. This ensures that the repair is effective and reliable.
- Regular Maintenance: Addressing small problems promptly can prevent them from becoming larger, more costly repairs.
FAQs: Wetsuit Seam Repair
How can I tell if my wetsuit seam needs repair?
The first sign that a seam might need repair is water leakage. If you notice water seeping through the seam during use, it’s time to check for damage. Other indicators include visible tears, fraying stitches, or delaminated neoprene layers. Regularly inspect your wetsuit after each use for any signs of wear and tear.
What is the best way to clean a wetsuit before repairing it?
Cleaning your wetsuit before making repairs is crucial for ensuring a strong bond with adhesives. Use a mild, non-detergent soap and cool water to wash the damaged area. Rinse thoroughly and allow the wetsuit to air dry completely before starting the repair process.
Can I use regular glue or tape for wetsuit repairs?
Regular glue and tape are not recommended for wetsuit repairs. Wetsuit materials, such as neoprene, require specific adhesives designed to flex and bond properly. Neoprene cement and seam tape are formulated to work with wetsuit materials, providing a strong, flexible seal that regular glue or tape cannot offer.
How long does it take for wetsuit repair adhesive to dry?
The drying time for wetsuit repair adhesive varies depending on the product and environmental conditions. Generally, neoprene cement requires about 10-15 minutes to become tacky and 24 hours for a full cure.
Is it possible to repair large tears or punctures myself?
Yes, you can repair large tears or punctures yourself using neoprene patches and adhesive. Clean the damaged area thoroughly, apply a layer of neoprene cement to both the patch and the wetsuit, and press them together firmly. For added strength, use a roller or squeegee to smooth out the patch.
When should I consider professional wetsuit repair services?
Professional repair services are recommended for extensive damage, such as multiple large tears, severe seam delamination, or if you’re unsure about performing the repair yourself.
How can I prevent seam damage in the future?
Preventing seam damage involves proper care and maintenance of your wetsuit. Avoid overstretching the seams and be cautious when putting on or taking off the wetsuit.
Are there any DIY repair kits that are particularly recommended?
Several DIY repair kits are well-regarded for wetsuit repairs. Kits from brands like McNett, AquaSeal, and Rip Curl are popular for their quality and effectiveness. These kits typically include neoprene cement, seam tape, and patches, making them comprehensive solutions for various types of damage. Reading reviews and checking compatibility with your wetsuit material can help you choose the best kit for your needs.
Conclusion
Mastering wetsuit seam repair is an invaluable skill for anyone who spends time in the water. Whether you’re a dedicated surfer, a passionate diver, or a casual swimmer, understanding how to effectively address seam damage can significantly extend the life of your wetsuit and ensure your comfort and safety during aquatic activities.
By familiarizing yourself with various repair techniques—from basic patching to advanced thermal bonding—you can tackle most common issues that arise with wetsuit seams. Investing in the right tools and materials, such as neoprene cement, seam tape, and quality patch kits, will enhance the effectiveness of your repairs. Remember to follow proper cleaning and drying procedures, and always test repairs before hitting the waves or depths.
Dive in with confidence, knowing that you have the skills and information to tackle any seam issues that come your way.
Other articles you may be interested in:
Wearing a Hat While Surfing: 7 Tips You Must Know
Surfing Gloves FAQ: 8 Useful Things You Need to Know
Surfing Booties FAQ: 9 Useful Tips You Need to Know


